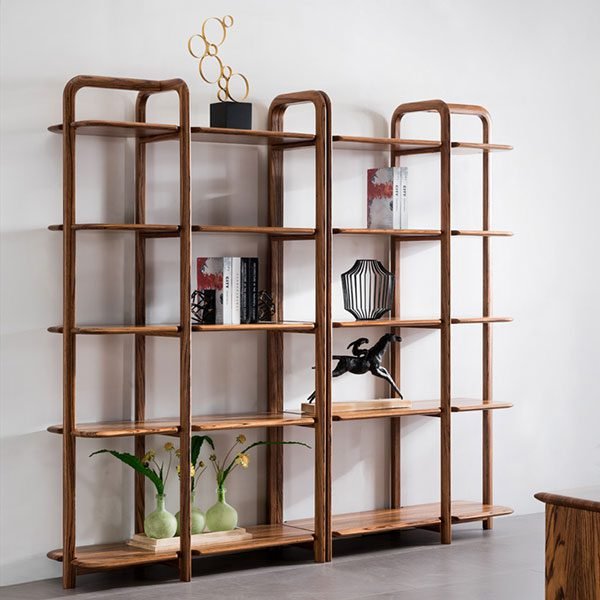
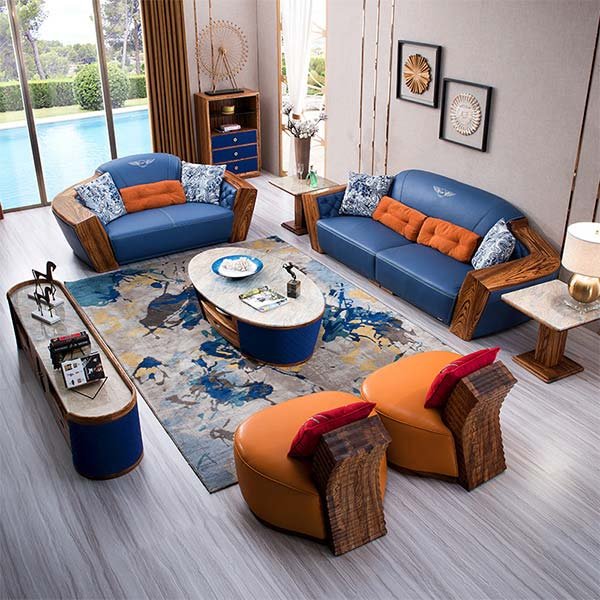
“Effortlessly design your space with AutoCAD: Seamlessly insert furniture for a perfect fit.”
Essential Tips for Inserting Furniture in AutoCAD
AutoCAD is a powerful software tool used by architects and designers to create detailed drawings and plans. One important aspect of using AutoCAD is the ability to insert furniture into your designs. Whether you are designing a home, office, or any other space, knowing how to insert furniture in AutoCAD is essential. In this article, we will provide you with some essential tips to help you effectively insert furniture in AutoCAD.
Firstly, it is important to have a library of furniture blocks that you can use in your designs. AutoCAD provides a wide range of pre-made furniture blocks, but you can also create your own or download them from various online sources. Having a library of furniture blocks will save you time and effort when inserting furniture into your designs.
Once you have your furniture blocks ready, you can start inserting them into your drawing. To do this, go to the “Insert” tab and click on the “Block” button. A dialog box will appear, allowing you to select the furniture block you want to insert. After selecting the block, click on the desired location in your drawing to place the furniture.
When inserting furniture, it is important to pay attention to the scale. AutoCAD allows you to scale the furniture block to fit your drawing. To do this, select the furniture block and click on the “Scale” button. A dialog box will appear, allowing you to enter the desired scale factor. Make sure to maintain the correct proportions when scaling the furniture block to ensure accurate representation in your drawing.
Another important tip is to use layers when inserting furniture in AutoCAD. Layers allow you to organize and manage different elements in your drawing. By assigning furniture blocks to specific layers, you can easily control their visibility and make changes if needed. This will help you keep your drawing organized and make it easier to work with.
In addition to layers, you can also use blocks and attributes to add more information to your furniture. Blocks allow you to create reusable objects, while attributes allow you to add specific information to those objects. For example, you can add attributes such as the name, dimensions, or material of the furniture. This additional information can be useful when creating a bill of materials or generating reports.
Lastly, it is important to regularly update your furniture library. As trends and styles change, you may need to add new furniture blocks or update existing ones. By keeping your library up to date, you can ensure that your designs accurately reflect the latest furniture options available.
In conclusion, inserting furniture in AutoCAD is an essential skill for architects and designers. By following these essential tips, you can effectively insert furniture into your designs and create accurate and detailed drawings. Remember to have a library of furniture blocks, pay attention to scale, use layers and attributes, and regularly update your furniture library. With these tips in mind, you will be able to efficiently incorporate furniture into your AutoCAD designs.
Step-by-Step Guide to Inserting Furniture in AutoCAD
AutoCAD is a powerful software tool used by architects and designers to create detailed drawings and plans. One important aspect of designing a space is the placement of furniture. In this step-by-step guide, we will walk you through the process of inserting furniture in AutoCAD.
Step 1: Open AutoCAD and create a new drawing. To do this, click on the “New” button in the toolbar or go to the “File” menu and select “New”. Choose the appropriate template for your project, such as architectural or mechanical.
Step 2: Familiarize yourself with the furniture library. AutoCAD provides a wide range of furniture blocks that you can use in your drawings. To access the library, click on the “Insert” tab in the toolbar and select “Blocks”. A dialog box will appear, showing you the available blocks.
Step 3: Choose the furniture block you want to insert. You can browse through the library or use the search function to find a specific piece of furniture. Once you have selected a block, click on the “OK” button to insert it into your drawing.
Step 4: Position the furniture block in your drawing. Use the mouse to click and drag the block to the desired location. You can also use the arrow keys on your keyboard to move the block in small increments. To rotate the block, click on it and use the rotate handle that appears.
Step 5: Adjust the size of the furniture block if necessary. To do this, click on the block and use the scale handles that appear. Drag the handles to make the block larger or smaller. You can also enter specific dimensions in the properties palette.
Step 6: Add additional furniture blocks as needed. Repeat steps 3 to 5 to insert more furniture into your drawing. You can use different blocks for different types of furniture, such as chairs, tables, and sofas.
Step 7: Customize the appearance of the furniture blocks. AutoCAD allows you to modify the properties of the blocks, such as color, material, and texture. To do this, select the block and open the properties palette. Make the desired changes and click on the “Apply” button.
Step 8: Save your drawing. It is important to save your work regularly to avoid losing any changes. To save your drawing, go to the “File” menu and select “Save” or click on the floppy disk icon in the toolbar. Choose a location on your computer and enter a file name.
Step 9: Print or export your drawing. Once you have finished inserting furniture in AutoCAD, you can print it or export it to other file formats. To print your drawing, go to the “File” menu and select “Print”. To export it, go to the “File” menu and select “Export”. Choose the desired file format, such as PDF or DWG, and follow the prompts.
In conclusion, inserting furniture in AutoCAD is a straightforward process that can greatly enhance your design drawings. By following this step-by-step guide, you can easily add furniture blocks to your drawings and create realistic representations of your design ideas. So go ahead and start experimenting with furniture placement in AutoCAD to bring your designs to life.
Common Mistakes to Avoid When Inserting Furniture in AutoCAD
Common Mistakes to Avoid When Inserting Furniture in AutoCAD
AutoCAD is a powerful software tool used by architects and designers to create detailed drawings and plans. One of the key features of AutoCAD is the ability to insert furniture into your designs, allowing you to visualize how a space will look once it is furnished. However, there are some common mistakes that people make when inserting furniture in AutoCAD. In this article, we will discuss these mistakes and provide tips on how to avoid them.
One of the most common mistakes when inserting furniture in AutoCAD is not using the correct scale. It is important to ensure that the furniture you are inserting is to scale with the rest of your drawing. If the furniture is too large or too small, it can throw off the proportions of your design and make it difficult to accurately represent the space. To avoid this mistake, always double-check the scale of the furniture before inserting it into your drawing.
Another mistake to avoid is not considering the placement of the furniture in relation to other objects in the drawing. It is important to think about how the furniture will interact with other elements in the space, such as doors, windows, and walls. For example, if you are inserting a sofa, make sure that it is not blocking a doorway or obstructing the view from a window. Taking the time to carefully consider the placement of furniture will help you create a more realistic and functional design.
In addition, it is important to avoid using generic or outdated furniture symbols. AutoCAD provides a library of furniture symbols that you can use in your drawings, but it is important to choose symbols that accurately represent the furniture you are inserting. Using generic symbols can make your design look generic and unprofessional. Instead, take the time to find or create symbols that closely resemble the furniture you are using.
Another mistake to avoid is not paying attention to the details of the furniture. When inserting furniture in AutoCAD, it is important to include details such as dimensions, materials, and finishes. This will help you accurately represent the furniture and ensure that it fits seamlessly into your design. Additionally, including these details will make it easier for others to understand and interpret your drawings.
Lastly, it is important to avoid overcrowding your design with too much furniture. While it may be tempting to fill every inch of your drawing with furniture, this can make the design look cluttered and overwhelming. Instead, focus on selecting a few key pieces of furniture that will enhance the overall design and functionality of the space. This will create a more visually appealing and balanced design.
In conclusion, when inserting furniture in AutoCAD, it is important to avoid common mistakes such as using the incorrect scale, not considering the placement in relation to other objects, using generic symbols, neglecting details, and overcrowding the design. By avoiding these mistakes and following the tips provided, you can create more accurate and visually appealing designs. Remember to always double-check your work and take the time to carefully consider the placement and details of the furniture. With practice and attention to detail, you can become proficient in inserting furniture in AutoCAD and create stunning designs.
Заключение
Заключение: Для вставки мебели в AutoCAD необходимо выполнить следующие шаги:
1. Откройте чертеж, в который вы хотите вставить мебель.
2. Импортируйте блоки мебели в AutoCAD. Вы можете использовать уже готовые блоки из библиотеки или создать свои собственные.
3. Нажмите на кнопку “Вставить блок” на панели инструментов или используйте команду “INSERT”.
4. Выберите блок мебели из списка доступных блоков или найдите его на диске.
5. Укажите точку вставки блока на чертеже.
6. Определите масштаб и угол поворота блока, если необходимо.
7. Нажмите “ОК” или введите координаты точки вставки, чтобы завершить процесс вставки мебели.
Таким образом, вы сможете успешно вставить мебель в AutoCAD и продолжить работу над вашим чертежом.


