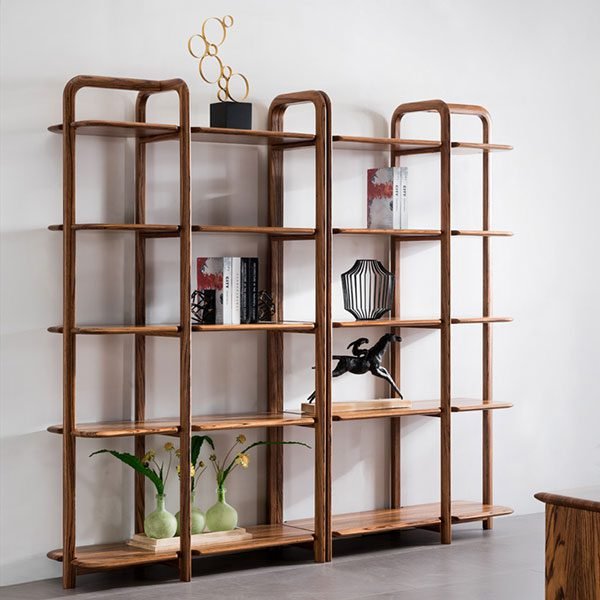
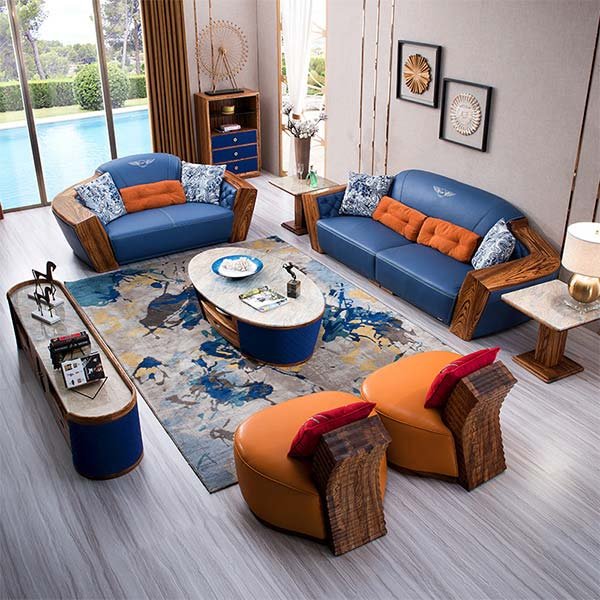
“Embrace the charm of nature with a Rustic Entertainment Center crafted from timeless wood.”
Choosing the right type of wood for your rustic entertainment center
Choosing the right type of wood for your rustic entertainment center is crucial in creating a beautiful and durable piece of furniture. The type of wood you choose will not only affect the overall look of your entertainment center but also its strength and longevity. In this article, we will discuss some popular types of wood that are commonly used for rustic furniture and their unique characteristics.
One of the most popular choices for rustic furniture is reclaimed wood. Reclaimed wood is sourced from old barns, factories, and other structures that are no longer in use. This type of wood has a rich history and character that cannot be replicated with new wood. Reclaimed wood often has unique markings, knots, and imperfections that add to its rustic charm. It is also an environmentally friendly choice as it reduces the demand for new wood.
Another popular choice for rustic furniture is pine wood. Pine is a softwood that is known for its light color and straight grain. It is relatively affordable and easy to work with, making it a popular choice for DIY projects. Pine wood can be stained or painted to achieve the desired look for your entertainment center. However, it is important to note that pine is a softer wood and may be more prone to dents and scratches compared to hardwoods.
If you are looking for a more durable option, hardwoods such as oak, maple, and cherry are excellent choices. Oak is known for its strength and durability, making it a popular choice for furniture that needs to withstand heavy use. It has a distinctive grain pattern and can be stained to enhance its natural beauty. Maple wood is known for its light color and smooth texture. It is a hard and dense wood that is resistant to warping and shrinking. Cherry wood has a rich, reddish-brown color that darkens over time. It is a durable wood that is often used for high-end furniture.
When choosing the right type of wood for your rustic entertainment center, it is important to consider the overall style and theme of your space. If you are going for a more rustic and weathered look, reclaimed wood may be the perfect choice. If you prefer a cleaner and more polished look, hardwoods such as oak or maple would be a better option. It is also important to consider the level of maintenance required for each type of wood. Some woods may require regular polishing or refinishing to maintain their appearance.
In conclusion, choosing the right type of wood for your rustic entertainment center is essential in creating a beautiful and durable piece of furniture. Reclaimed wood offers a unique and environmentally friendly option, while pine wood is affordable and easy to work with. Hardwoods such as oak, maple, and cherry provide durability and a timeless appeal. Consider the overall style and maintenance requirements when making your decision. With the right choice of wood, you can create a stunning rustic entertainment center that will be the focal point of your living space.
Step-by-step guide on building a rustic entertainment center from scratch
Step-by-step guide on building a rustic entertainment center from scratch
Creating a rustic entertainment center with wood can be a rewarding and fulfilling project. Not only will it add a touch of charm to your living space, but it will also provide a functional and stylish storage solution for your electronics and media. In this step-by-step guide, we will walk you through the process of building your own rustic entertainment center from scratch.
1. Planning and Design
Before you start building, it’s important to have a clear plan and design in mind. Consider the dimensions of your space and the size of your TV and other electronics. Sketch out a rough design that includes shelves, cabinets, and any other features you desire. This will serve as your blueprint throughout the construction process.
2. Gathering Materials
Once you have your design, it’s time to gather the necessary materials. For a rustic look, opt for reclaimed or distressed wood. You will also need screws, nails, wood glue, sandpaper, and a variety of tools such as a saw, drill, and sander. Make sure to measure and cut your wood pieces according to your design.
3. Building the Frame
Start by building the frame of your entertainment center. Use the saw to cut the wood pieces to the desired length and assemble them using screws and wood glue. Make sure the frame is sturdy and level. This will serve as the foundation for the rest of the construction.
4. Adding Shelves and Cabinets
Next, it’s time to add shelves and cabinets to your entertainment center. Measure and cut the wood pieces for the shelves and cabinets, and attach them to the frame using screws and wood glue. Make sure they are level and secure. Consider adding doors to the cabinets for a more polished look.
5. Sanding and Finishing
Once the structure is complete, it’s time to sand the wood to create a smooth surface. Start with a coarse grit sandpaper and gradually move to a finer grit for a polished finish. Pay attention to corners and edges to ensure a uniform look. After sanding, wipe away any dust and apply a wood finish or stain of your choice. This will protect the wood and enhance its natural beauty.
6. Mounting the TV and Electronics
After the finish has dried, it’s time to mount your TV and other electronics. Measure and mark the desired height for your TV and use a wall mount or bracket to secure it to the entertainment center. Make sure to follow the manufacturer’s instructions for proper installation. For other electronics, consider adding shelves or compartments to accommodate them.
7. Adding Final Touches
To complete the rustic look, consider adding decorative elements such as metal accents, knobs, or handles. These small details can make a big difference in the overall aesthetic of your entertainment center. Additionally, you can personalize it by adding photos, artwork, or other decorative items on the shelves.
In conclusion, building a rustic entertainment center from scratch can be a rewarding and enjoyable project. By following this step-by-step guide, you can create a functional and stylish storage solution for your electronics and media. Remember to plan and design your center, gather the necessary materials, build the frame, add shelves and cabinets, sand and finish the wood, mount the TV and electronics, and add final touches. With patience and attention to detail, you can create a beautiful rustic entertainment center that will be the focal point of your living space.
Tips for adding finishing touches and decorative elements to your rustic entertainment center
When it comes to creating a rustic entertainment center with wood, adding finishing touches and decorative elements can really enhance the overall look and feel of the piece. These small details can make a big difference in transforming a simple wooden structure into a stunning focal point in your living room. In this article, we will provide you with some tips on how to add those finishing touches to your rustic entertainment center.
One of the first things to consider is the choice of hardware. The hardware you choose can greatly impact the overall aesthetic of your entertainment center. For a rustic look, consider using wrought iron or antique brass hardware. These materials have a vintage feel that complements the natural beauty of wood. Additionally, consider using hardware with intricate designs or patterns to add visual interest to your piece.
Another way to add a rustic touch to your entertainment center is by incorporating decorative elements such as carvings or engravings. These can be done by hand or with the help of a professional woodworker. Carvings can be as simple as adding a few decorative lines or as intricate as creating detailed motifs or scenes. Engravings, on the other hand, can be done using a wood burning tool or laser engraving machine. These decorative elements can add a unique and personalized touch to your entertainment center.
In addition to carvings and engravings, consider adding some decorative molding or trim to your entertainment center. This can be done by attaching wooden moldings or trim pieces to the edges or corners of your piece. These decorative elements can add depth and dimension to your entertainment center, making it look more visually appealing. Choose moldings or trims that have a rustic or vintage design to maintain the overall theme of your piece.
To further enhance the rustic look of your entertainment center, consider using a distressed or weathered finish. This can be achieved by sanding down the wood and applying a stain or paint that mimics the look of aged or weathered wood. This technique adds character and charm to your piece, giving it a more authentic rustic feel. Additionally, consider adding some distressing techniques such as sanding the edges or using a hammer to create small dents or scratches. These imperfections add to the overall rustic aesthetic.
Lastly, don’t forget to add some decorative accessories to your entertainment center. This can include items such as vintage books, antique cameras, or rustic lanterns. These accessories not only add visual interest but also help to create a cozy and inviting atmosphere in your living room. Consider arranging these accessories in a way that complements the overall design of your entertainment center.
In conclusion, adding finishing touches and decorative elements to your rustic entertainment center can greatly enhance its overall look and feel. From choosing the right hardware to incorporating carvings or engravings, there are many ways to personalize your piece and make it truly unique. By following these tips, you can create a rustic entertainment center that not only serves its functional purpose but also becomes a beautiful focal point in your living room.
Заключение
Заключение: Чтобы создать рустик-стильный развлекательный центр с использованием дерева, необходимо выполнить следующие шаги:
1. Определите размеры и форму развлекательного центра в соответствии с вашими потребностями и доступным пространством.
2. Выберите качественное дерево, которое соответствует вашему предпочтению по оттенку и текстуре. Рекомендуется использовать дуб, сосну или кедр для создания рустик-стиля.
3. Измерьте и отметьте необходимые размеры для каждой части развлекательного центра, включая полки, ящики и отделения для медиа-устройств.
4. Используйте инструменты, такие как пилы, дрели и шлифовальные машины, чтобы обрезать и отшлифовать деревянные детали в соответствии с отметками.
5. Соберите развлекательный центр, используя клей и крепежные элементы, чтобы убедиться в его прочности и стабильности.
6. Добавьте дополнительные элементы рустик-декора, такие как металлические оковы, кованые детали или старинные ручки, чтобы придать развлекательному центру более аутентичный вид.
7. Закончите создание развлекательного центра, применив покрытие, такое как лак или масло, чтобы защитить дерево и придать ему более оттененный вид.
В результате вы получите рустик-стильный развлекательный центр с использованием дерева, который станет прекрасным дополнением к вашему интерьеру и обеспечит функциональное хранение и отображение медиа-устройств.


